Conference Tracker - How do I manage Polls?
Introduction
The Polls page lets you quickly create and send one-question surveys to attendees during a specific session. These are useful for gathering quick feedback, asking questions about the session, or encouraging audience participation. In this article, we explain how to manage polls in Conference Tracker. To learn how to create a new poll, click here: https://desk.zoho.com/portal/engineerica/en/kb/articles/conference-tracker-how-do-administrators-create-polls
Step-By-Step
1- Go to Feedback > Polls
On the polls page, you can view, create, and publish your polls. You’ll also find some options to manage them:- Create - This option will allow you to create your polls. More information on this can be found here: https://desk.zoho.com/portal/engineerica/en/kb/articles/conference-tracker-how-do-administrators-create-polls
- View Results - This option lets you view the results of all your polls. You’ll only see polls that have received at least one response. For example, this poll:
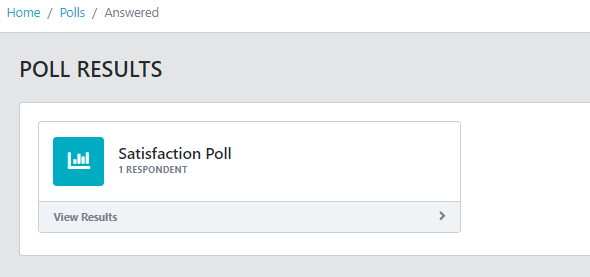
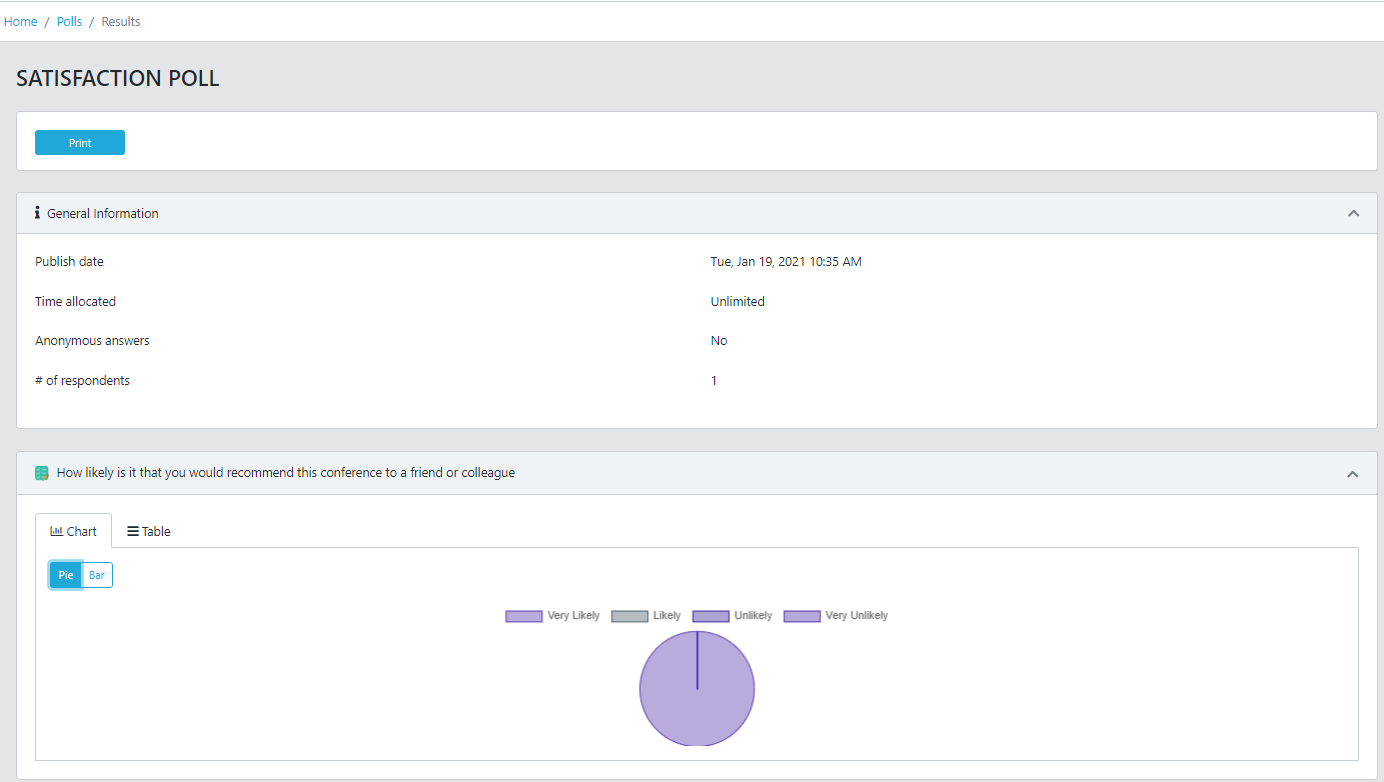
Click View Results to have access to the results:
Click View Results to have access to the results:
2- Search Filters
With search filters, you can filter out specific polls by picking different options. This is useful if you quickly want to find a specific poll.
You can filter the table using the status field and/or the audience the polls are addressed to:
2.1 - The status filter:
Use this filter to view polls based on their current status. Select an option from the list:
- Any status: Shows all polls, regardless of their status (default).
- Not published: Shows polls that haven’t been published yet.
- Scheduled: Shows polls set to be published at a future time.
- Active: Shows polls that are currently live.
- Answered: Shows polls that have received at least one response.
- Expired: Shows polls that are no longer active.
2.2 - The audience filter
Use this filter to narrow down polls based on specific groups of attendees:
- Any audience/Everyone: this is the unfiltered/default value.
- Group: When you select this option, a dropdown appears, letting you search for the group you want to use as a filter.
3-Registered to session: When you select this option, a dropdown appears, letting you search for the session you want to use as a filter.
5-Signed-in to a session: When you select this option, a dropdown appears, letting you search for the session you want to use as a filter.
3-Poll options
For each poll, additional options are available by clicking the three dots on the right side of the row.
- Unpublish/Publish: Use this option to publish the poll or take it offline.
- Copy: Use this option to create a clone of a poll. This is useful if you want to make a similar poll using another one as a starting point. You can then edit the cloned poll and make any changes you need.
- Delete: Use this option to permanently remove a poll. This action cannot be undone.
Related Articles
Conference Tracker - How do I create Polls?
Introduction With the Polls section, you can quickly create and send one-question polls to your Attendees. These can be useful if you need a quick response from your conference guests, such as a question about the conference or having audience ...Conference Tracker- How do I manage Surveys?
Introduction In the Surveys pages, you can create and send multi-question forms to your attendees. Surveys function similarly to Polls but allow you to include an unlimited number of questions. You can schedule them to be sent automatically at ...Conference Tracker: How do I complete a poll, survey, session evaluation, or conference evaluation?
INTRODUCTION In Conference Tracker there are various types of questionnaires that you can provide to participants. Click the corresponding option below to see how to complete them: Polls Surveys Session Evaluations Conference Evaluations In this ...Conference Tracker: How do I design badges?
Create custom badges for Attendees, Presenters, and Exhibitors using Conference Tracker’s built-in badge designer. Our badge designer is highly customizable—you can design both the front and back, include each attendee’s QR code, choose from prebuilt ...Conference Tracker- How do I create new exhibitors?
Introduction In Conference Tracker, you can create and manage the exhibitors attending your conference. This allows attendees, exhibitor administrators, and exhibitor representatives to be linked to the exhibitor they represent. For exhibitors, this ...