Conference Tracker: How do I create and manage new Exhibitor Administrators?
Introduction
Exhibitor Administrators are the main contacts for an exhibitor at the conference, and they are responsible for managing their representatives. They can view all leads captured by their company and make changes to any exhibitor settings available to them. Key permissions for this role include:
Managing the team of representatives for their company.
View and export all leads captured by their company.
Access analytical and graphical data reports on lead collection.
Configuring all available settings for their company
As an administrator in Conference Tracker, you can view, create, and manage all Exhibitor Administrators.
This article explains how to create and edit an Exhibitor Administrator.
Step-By-Step
Creating a new Exhibitor Administrator
1. Navigate to Exhibitors -> Exhibitor Admins. Click the Create button at the top of the page.
2. Enter the exhibitor administrator's basic information, including their first name, last name, and email.

The fields with a red asterisk are mandatory.
3. In the Security section, setting a password is optional — the user can create their own password when they first log in.
4. Enter any optional information, such as contact information and social network links.
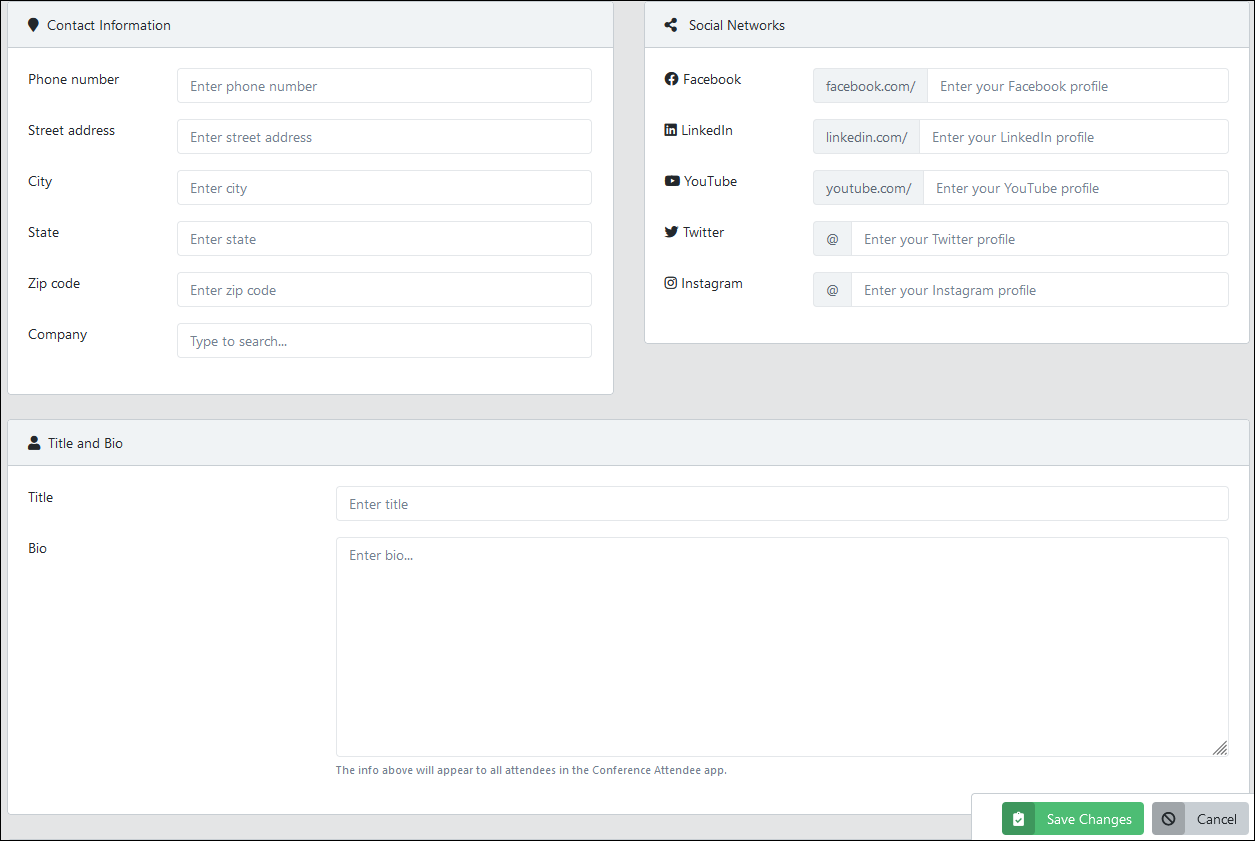
5. Review the information, then click Save Changes.
Managing an Exhibitor Administrator
1. Navigate to Exhibitors > Exhibitor Admins.
2. Search for the exhibitor administrator you want to edit, click the three dots on the right of their row, and select Edit from the dropdown.
3. After making the desired updates, click the Save Changes button to apply them.

Exhibitor Administrators can be viewed, created, and managed from this screen.
- Create: Begin creating a new administrator.
- Groups: View administrator groups.
- Send Leads App Login Instructions: Send an email to all Exhibitor Administrators that purchased a Leads License. The email will include instructions on how to download and access the Conference Leads app.
- Edit: Click on the name of any Exhibitor Administrator to edit their profile.
The following options can be accessed by clicking the three dots to the far-right of any Exhibitor Administrator's name. Changes made will only affect the administrator chosen.
- Send Leads Login Info: Send an email with leads to this specific Exhibitor Administrator.
- Groups: Show any Groups the chosen Exhibitor Administrator belongs to.
- View Limits: View how many representatives this administrator's company is allowed to have, as well as how many Leads Licenses and Push Ads they have purchased. These are generally updated automatically through Conference Tracker.
- Ban: Ban the chosen Exhibitor Administrator. Banned users are not able to post to the social feed on the Attendee app.
- Delete: Delete the chosen Exhibitor Administrator.